
Hey there, fellow DIY enthusiasts and automotive lovers! If you're here, chances are you're looking to install a Ratchet Style Tensioner Handle. Well, you've come to the right place. I'm a supplier of these nifty tools, and I'm gonna walk you through the whole installation process step by step.
First things first, let's talk about what a Ratchet Style Tensioner Handle is and why you might need one. This little gadget is super useful in a bunch of automotive and industrial applications. It's designed to provide a secure and adjustable tension, which is crucial for things like belt drives, cable systems, and more. Whether you're working on your car, a piece of machinery, or a DIY project, having the right tension is key to getting the job done right.
What You'll Need
Before we dive into the installation, let's gather all the tools and materials you'll need. Here's a quick list:
- Ratchet Style Tensioner Handle (obviously!)
- Screwdriver (either flathead or Phillips, depending on the mounting screws)
- Wrench set
- Measuring tape
- Safety glasses (always a good idea to protect your eyes)
Step 1: Preparation
The first step is to prepare the area where you'll be installing the tensioner handle. Make sure the surface is clean and free of any dirt, grease, or debris. This will ensure a good, secure fit. You might also want to measure the space where the handle will go to make sure it's the right size.
If you're installing the handle on a vehicle, you'll need to locate the appropriate mounting point. This could be on the engine block, a frame rail, or another suitable location. Refer to your vehicle's manual or do some research online to find the exact spot.
Step 2: Mounting the Tensioner Handle
Once you've found the right spot, it's time to mount the tensioner handle. Most handles come with mounting holes that align with pre-drilled holes on the mounting surface. Line up the holes and insert the mounting screws. Use your screwdriver or wrench to tighten the screws securely.
Be careful not to overtighten the screws, as this could damage the handle or the mounting surface. Just make sure they're snug enough to hold the handle in place.
Step 3: Adjusting the Tension
Now that the handle is mounted, it's time to adjust the tension. The ratchet mechanism on the handle allows you to easily increase or decrease the tension as needed. To adjust the tension, simply turn the handle in the appropriate direction.
If you're using the handle to tension a belt, for example, you'll want to turn the handle clockwise to increase the tension and counterclockwise to decrease it. Keep an eye on the belt as you adjust the tension to make sure it's properly aligned and not too tight or too loose.
Step 4: Testing the Tensioner Handle
Once you've adjusted the tension, it's a good idea to test the handle to make sure it's working properly. Try applying some force to the handle and see if it holds the tension. You can also check the tension of the belt or cable by gently pulling on it.
If the handle doesn't seem to be holding the tension or if the tension is too loose or too tight, you may need to readjust it. Don't worry if it takes a few tries to get it just right. It's all part of the process.
Step 5: Final Checks
Before you call it a day, take a few minutes to do a final check. Make sure the handle is securely mounted and that the tension is set correctly. Check for any signs of wear or damage on the handle or the mounting surface.
If everything looks good, you're all set! You've successfully installed a Ratchet Style Tensioner Handle.
Additional Tips and Tricks
- If you're having trouble aligning the mounting holes, you can use a drill bit or a small punch to mark the holes on the mounting surface. This will make it easier to insert the screws.
- When adjusting the tension, it's a good idea to make small adjustments at a time. This will help you avoid over-tightening or under-tightening the belt or cable.
- If you're working on a vehicle, make sure to disconnect the battery before starting the installation. This will prevent any electrical shocks or damage to the vehicle's electrical system.
Related Products
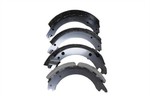
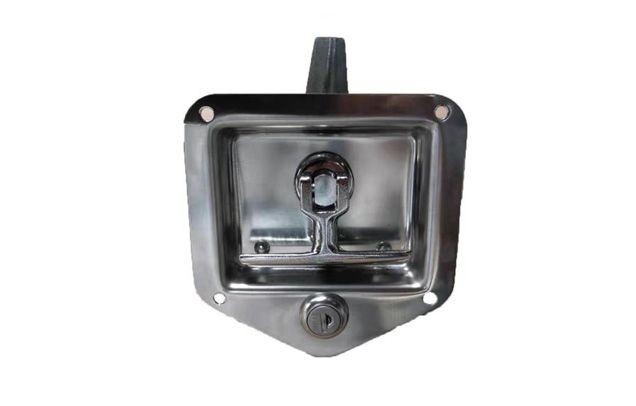
If you're interested in other automotive sheet metal products, check out our Brake Shoes, T Lock Panel, and Car Frame. These products are high-quality and designed to fit a variety of vehicles.
Contact Us for Purchase
If you're looking to purchase a Ratchet Style Tensioner Handle or any of our other products, we'd love to hear from you. We offer competitive prices, fast shipping, and excellent customer service. Whether you're a professional mechanic or a DIY enthusiast, we have the products you need to get the job done right.

Just reach out to us, and our team will be happy to assist you with your purchase. We can answer any questions you have and help you find the right product for your needs.
References
- Automotive Repair Manuals
- Online DIY Forums
- Manufacturer's Instructions