

Hey there! As an automotive sheet metal supplier, I've seen my fair share of paint peeling issues on automotive sheet metal. It's a common problem that can make your vehicle look shabby and even lead to further damage if not addressed. In this blog, I'll walk you through how to repair paint peeling on automotive sheet metal, step by step.
Step 1: Assess the Damage
The first thing you need to do is take a good look at the area where the paint is peeling. Figure out how severe the problem is. Is it just a small spot, or is it a large area? Also, check if the peeling has exposed the bare metal underneath. If it has, that metal is at risk of rusting, so you'll need to act fast.
Step 2: Gather Your Tools and Materials
To get the job done right, you'll need a few tools and materials. Here's a list:
- Sandpaper: Different grits are necessary. Start with a coarse grit (around 80 - 120) to remove the loose paint and then move to a finer grit (220 - 400) for smoothing.
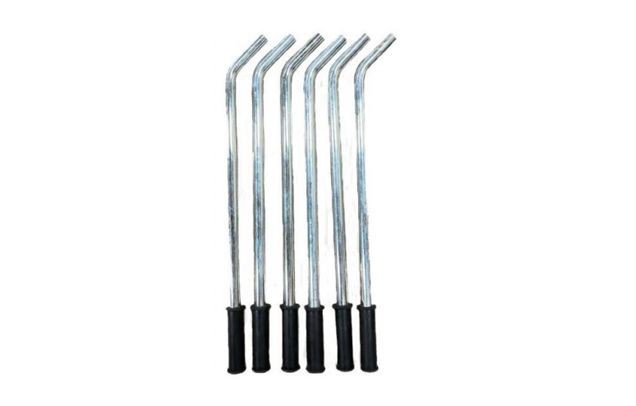
- Putty knife or scraper: This will help you scrape off the peeling paint. You can check out the Crowbar for some heavy - duty scraping if needed.
- Primer: A good quality automotive primer is essential to protect the metal and provide a good base for the new paint.
- Paint: Match the paint color of your vehicle. You can get this from an automotive paint store.
- Masking tape and plastic sheeting: To protect the surrounding areas from overspray.
- Paintbrushes or a spray gun: Depending on your preference and the size of the area to be painted.
- Safety gear: Gloves, goggles, and a respirator to protect yourself from fumes and debris.
Step 3: Remove the Peeling Paint
Use the putty knife or scraper to carefully remove all the peeling paint. Start at the edges of the peeling area and work your way in. Be gentle so you don't damage the underlying metal. If there are stubborn bits of paint, you can use the Crowbar to pry them loose. Once you've removed as much paint as you can by hand, use the coarse - grit sandpaper to sand the area. This will get rid of any remaining paint and roughen the surface for better primer adhesion.
Step 4: Sand the Area
After removing the peeling paint, use the finer - grit sandpaper to sand the area. Sand in a circular motion to create a smooth and even surface. Make sure to sand a little beyond the edges of the damaged area to blend it in with the surrounding paint. Wipe away the dust with a clean, dry cloth.

Step 5: Prime the Area
Apply the primer to the sanded area. Follow the instructions on the primer can. Usually, you'll need to apply it in thin, even coats. Let the primer dry completely between coats. Primer helps prevent rust and provides a good surface for the new paint to stick to.
Step 6: Mask the Surrounding Area
Use masking tape and plastic sheeting to cover the areas around the repair site. This will prevent overspray on the rest of the vehicle. Make sure the tape is firmly pressed down to get a clean edge.
Step 7: Apply the Paint
Now it's time to apply the paint. If you're using a paintbrush, dip it in the paint and apply it in thin, smooth strokes. If you're using a spray gun, hold it about 6 - 8 inches away from the surface and spray in a steady, back - and - forth motion. Apply multiple thin coats, letting each coat dry according to the paint's instructions.
Step 8: Blend the Paint
Once the paint is dry, you may need to blend it with the surrounding paint. Use a fine - grit sandpaper to lightly sand the edges of the new paint job. Then, apply a clear coat over the entire area to give it a smooth, finished look.
Step 9: Final Inspection
After everything is dry, take a close look at the repair. Check for any rough spots, uneven paint, or missed areas. If you find any issues, you can sand and repaint as needed.
Tips and Tricks
- Work in a well - ventilated area. The fumes from paint and primer can be harmful, so make sure there's plenty of fresh air.
- Practice on a small, inconspicuous area first if you're using a spray gun for the first time.
- Keep your tools clean. Clean your paintbrushes or spray gun immediately after use to prevent the paint from drying and clogging them.
Why Choose Our Automotive Sheet Metal?
As an automotive sheet metal supplier, we offer high - quality sheet metal products that are designed to last. Our sheet metal is made from top - grade materials and undergoes strict quality control processes. Whether you need sheet metal for a repair job like this or for a new vehicle build, we've got you covered. We also have a range of related products such as Truck Packing Rope and Truck Guardrail that can be useful in various automotive applications.
If you're interested in our automotive sheet metal products or have any questions about paint repair on automotive sheet metal, don't hesitate to reach out to us. We're here to help you with your automotive needs. Whether you're a professional mechanic or a DIY enthusiast, we can provide the right products and advice to get the job done right.
References
- "Automotive Body Repair Technology" by Larry Shepherd
- Various automotive paint and repair manuals available at local automotive stores.